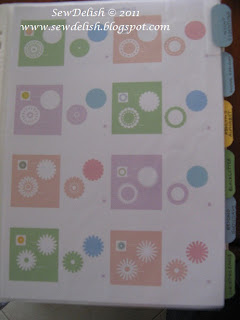
I have had so many enquiries on this post so have made a tutorial on how I print and organise my cartridge handbooks. You can find it here.

I have been arranging my printed Cricut cartridge handbooks so I can lay my hand on each one quickly and easily.
All the handbooks are placed in clear pockets, sorted into alphabetical order and then labelled. Each tab is coloured according to whether the cartridge is a font, shapes or lites/seasonal cartridge.
Orange/peach tabs are for font cartridges
Blue for shapes cartridges
Green for lite and seasonal cartridges
The tab shape is from Tags, bags, boxes and more cut at 1 and 3/4 inches. It is the mirror tab shape on page 34 of the handbook.
If you label the tabs like on my photo here, then tape or glue to the first page of your handbook, you will be able to see the names from both sides as you browse through your file.


This is great, but I do not know how you made the print outs. Can you please give instructions for that?
ReplyDeleteHi Betsy I have emailed you and will add some instructions here as soon as I get a chance
ReplyDeleteSewDelish x
I have got to try my hand at this card making...your pictures are so lovely!
ReplyDeleteWhere can I find these books to print out since they took the library off the cricut website?
ReplyDelete